There are now several different ways you can record your iPhone/iPad screen:
- Use QuickTime Player, with your device connected via a Lightning cable (works for both web browsing and app usage)
- Use a web browser recording app, such as Web Browser Recorder (works for web browsing only)
- Use the Reflector 2 app (works for both web browsing and app usage)
Here’s the details on all 3 methods:
QuickTime Player

Requirements
- Mac running OSX Yosemite or later
- iOS device with iOS 8 or later
- Lightning cable
Steps
- Connect your Mac to the iOS device with the Lightning cable
- Open up the QuickTime Player on your Mac
- Click File, then New Movie Recording option
- In the Movie Recording window which then appears, hover the mouse over the window until the recording tools appear.
- Next to the red record button, there should be a downward arrow icon which will let you further select options – select Camera – your connected iOS device – select Microphone option required – and select Quality required.
- Then click the red record button to start recording your iOS device’s screen
Advantages
- Can record anything seen on your iOS device display – including app usage and web browsing
- It’s free
- Can easily trim and save your video within QuickTime Player
Disadvantages
- You’ll need a Lightning cable and a fairly recent Mac to do it
Web browser recording app
Requirements
- iOS device running iOS 9 or later
- Web browser recording app installed on your iOS device
Steps
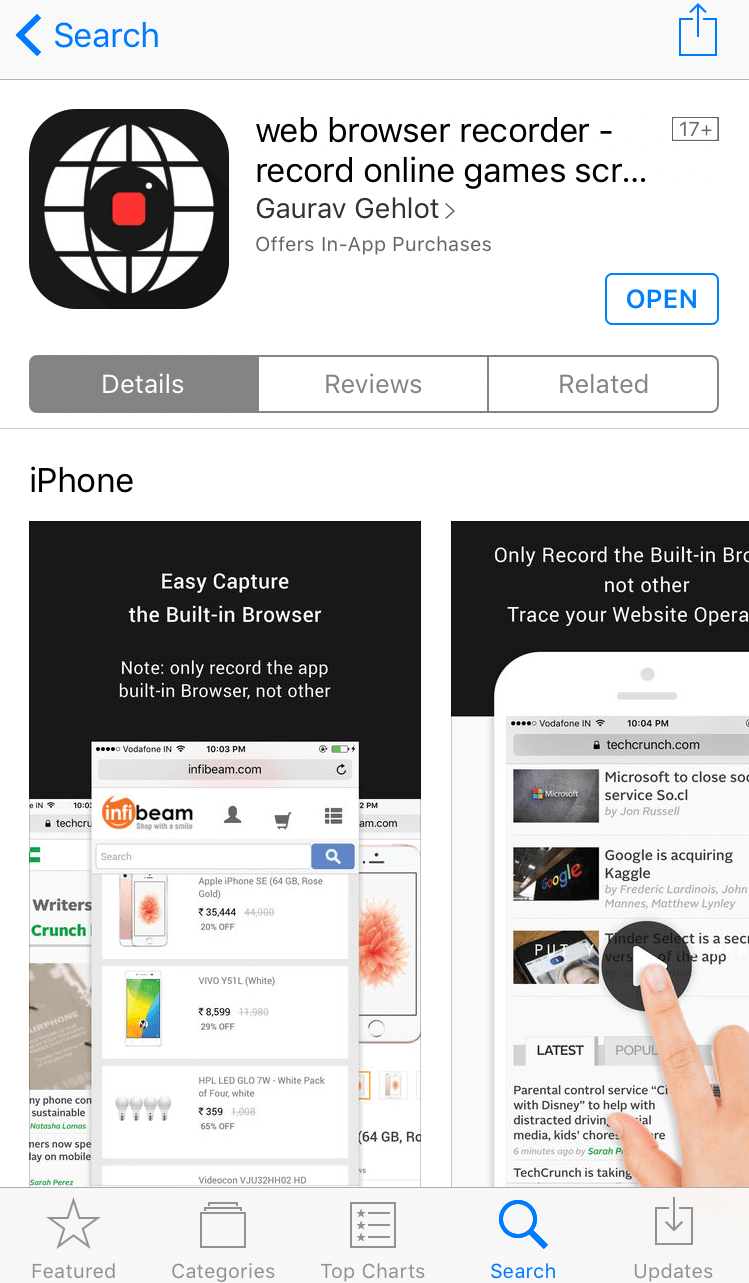
- On the iOS App Store, search for a web browser recording app. There are currently lots to choose from and I’m currently using Web Browser Recorder by Gaurav Gehlot, which is free on iPhone and you can pay an in-app purchase to remove ads if you require.
- Once you’ve installed the app, start it up.
- In the app, you should be able to bring up a browser and press a record button to record your web browsing.
- Once you’ve recorded what you need to, you can then press the Stop Recording button and you should then be able to save the browser recording to your device, or cancel and start again.
Advantages
- Once the app is installed, its very simple to start recording a browsing session
- It’s free – though likely to display ads
- Can easily trim and save your video on your iOS device
Disadvantages
- Only works with web browsing sessions, not app usage
- The in-app ads – though you can usually pay a small fee to remove these ads
Reflector 2 app

Requirements
- Mac running OSX 10.7.5 or later OR Windows machine with Windows 7, 8 or 10
- Compatible AirPlay Mirroring device
- Local network connection between devices
- The Reflector 2 app installed on your Mac or Windows machine
Steps
- Purchase the Reflector 2 app, for $14.99, install it on your Mac or Windows machine
- Ensure your iOS device and Mac or Windows machine are on the same network and start the Reflector 2 app
- On your iOS device, use Control Centre to select AirPlay Mirroring option and choose your Mac or Windows machine name to then AirPlay Mirror to that machine
- The main Reflector 2 app window should then appear on your machine, showing the screen from your iOS device
- You can then start recording the screen as required
Advantages
- Can record anything seen on your iOS device display – including app usage and web browsing
- Can easily trim and save your video within QuickTime Player
- Works with both Mac and Windows machines
Disadvantages
- Have to purchase the Reflector 2 app for each machine you want to run it on / mirror to
- More complex process than when using the QuickTime Player / Lightning cable approach above
Summary
Of the 3 methods above, the QuickTime Player / Lightning cable approach works best as you can capture video from apps or web browsers. However, if you’re not near your Mac and just want to quickly record something from your web browsing, then the quick and dirty Web browser recorder app approach works well.